Here are 7 things to know before painting your house. As tempting as it might be don’t simply open up your paint can and start going after it there are numerous steps and procedures to help make your painting job look better and ultimately last longer.
-
Cleaning The Home – First things first a proper cleaning is crucial for all painting projects. All painting surfaces of your home need to be power washed. If you don’t own a power washer a garden hose with a scrub brush would be an alternate way to achieve the same results. CAUTION – Careful to not treat your siding like your power washing your driveway. Power Washing your home is a thorough strong powered rinse. A typical 1 story 1600 sf home shouldn’t take much longer then an hour to clean. When cleaning your home look for any hornets nests or other things in the eaves to knock down. This will make your life much easier later on.
-
Temperature – Before any products go on your home look at the forecast and make sure the temperatures are in the 40’s (minimum) and lows are not dropping below freezing. If its peak summer make sure to start early before the heat and always work in the shade if you can. Starting on the south side of the home and working your way around usually does the trick. This will allow your products to adhere to your cleaned home and cure correctly. Always check the labels of your products for more detailed information about temperature.
-
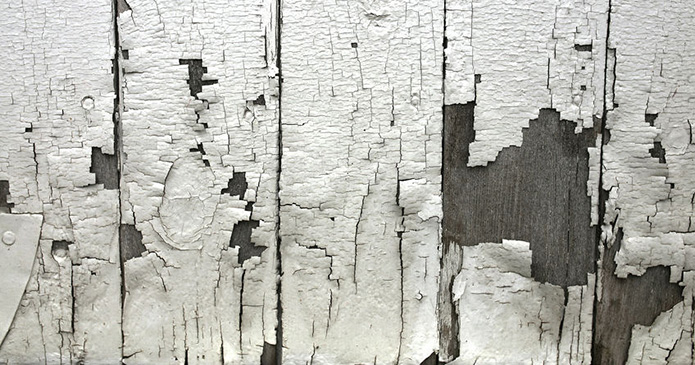
Proper Prep – Once the house is cleaned and the forecast looks good it’s time to start the prepwork for your home. I recommend Denfelds Miller Paint here in Redmond. They will get you all set up with the proper prep material and supplies. Pick up a paint scraper, caulking gun, exterior caulking, exterior primer, and a brush. Go around your home and scrape any loose paint from the siding, trim boards, and eaves. Prime the surfaces your scraped and all other bare wood surfaces with a good exterior primer (don’t go cheap). Your whole house does not need to be primed only the areas that were scraped and other bare wood surfaces. Once the primer is dry go around and caulk any open or failed joints of your home. Use your finger to smooth out those areas and carry a wet rag to wipe off any excess caulking.
-
Siding Material – Determining your siding material is crucial. This will tell you the proper application necessary for your painting project. If it is porous at all such as cedar or T1-11 brushing or rolling helps to work the paint into the material.If you are spraying simply back brush or back roll the paint into your siding right after it is sprayed. The sooner you can get a brush or roller to it the better. Depending on the weather it can dry very fast after applied to the siding so having another person behind you while your spraying to back brush and or back roll the paint is ideal. If the siding is not porous such as hardie plank no back brushing or back rolling is necessary.
-
Cover Material – Depending on if you are going to brush and roll your home or spray, cover material will be much different. If you are going to brush & roll, all window screens should be pulled from windows (these are a nightmare to get paint out of), all decks and concrete should be covered, and any other patio furniture. If you are going to spray cover all windows and fixtures on the home as well as other un painted surfaces. It’s best to stick the tape on the vinyl portion of the window vs the outside trim.The wind a lot of times will pull the masking off if it is stuck to the wood trim. A 14 day removal tape is best especially in the heat of the summer. Cheap tape can bake onto the vinyl of the window and cause a mess when it’s time to pull off.
-
Paint Products & Sheen – Which paint should be used? Depending on your budget paint products do follow cost for the most part. Manor Hall & Evolution from miller paint are the most durable exterior products they carry. If you can afford it purchase the highest quality paint products from a paint store such as miller paint or sherwin williams. If those are too expensive I would still recommend purchasing the paint from either sherwin williams or miller and use their standard exterior paint. As far as sheen goes it’s important to understand the difference. A higher sheen will help reflect the uv rays and provide a better washable surfaces for cleaning but too high of a sheen will not look correct on the house. Satin sheen is the most common sheen for exterior painting. It provides the best protection from fading and uv rays without looking too shiny. If you choose to go with a lower sheen velvet is also an alternate. However, never put flat on the outside of a house. This will not put up a good defense against the rays and will fade much much quicker.
-
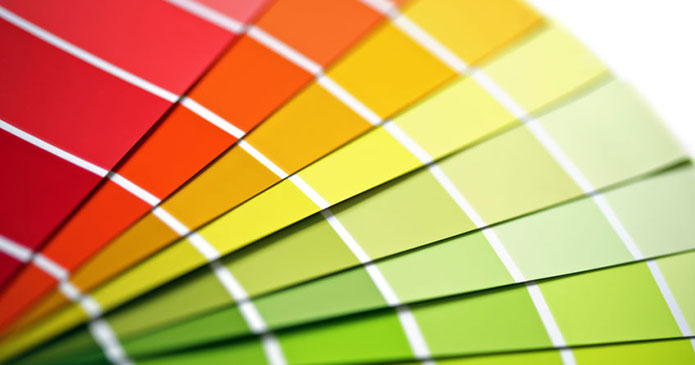
Paint Color – When choosing a color there are a few things to keep in mind. The darker the color the quicker it will fade due to the amount of pigment in the color which means touch ups a few years later will show more than a lighter color. If you choose a lighter color it will fade less and touch ups will blend in better throughout the years. When it comes down to it though choose the color scheme you want just understand the difference between the two. Getting a sample and brushing a section onto the house and trim is always a good way to get a feel of the color before purchasing all the paint for the project. CAUTION: If vinyl is being painted NEVER put a darker color on the vinyl then what was factory finished. The darker color can cause the siding to become warmer then designed to withstand which can cause buckling.